Python Vibe Coding Course — Part 4
Ensuring Reproducibility
Preserve your environment with requirements.txt
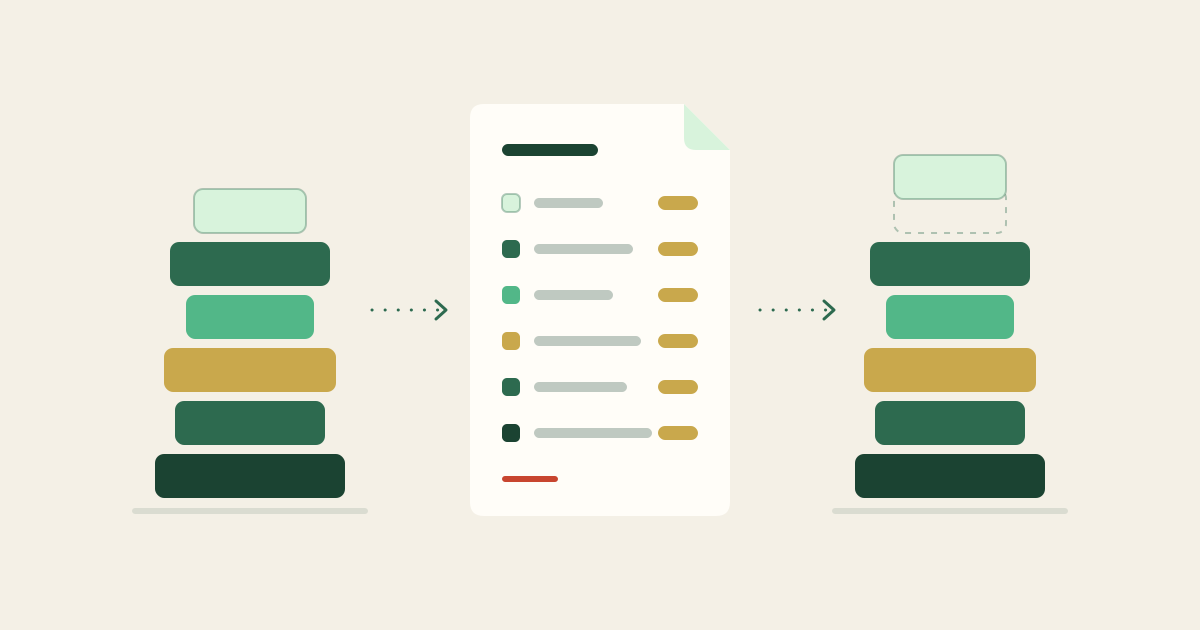
After Part 3, your analysis runs on your own PC. The next important step is to leave the environment in a form that third parties, such as co-authors, reviewers, or your future self, can reproduce. In Python, the standard approach is to export your libraries and their versions into a single text file called requirements.txt. This part explains how to create it and how others can use it to replicate your setup.
Why requirements.txt is necessary
As explained in Part 1, Python code runs only with the right combination of Python version and library versions. Code you wrote using pandas 2.2.0 may not work in someone else's environment that only has pandas 1.5.0.
requirements.txt is a text file that lists each library you used along with its version, one per line. Anyone who receives this file can install exactly the same versions of all the libraries with a single command.
pandas==2.2.0
openpyxl==3.1.2
matplotlib==3.8.2
numpy==1.26.3
seaborn==0.13.1
Generate requirements.txt
With your virtual environment active (the one you created in Part 2 as .venv), you will run one command in the terminal.
Open a terminal in VSCode from "Terminal → New Terminal" in the top menu. Then run the command for your system.
- On Windows (PowerShell), run
.venv\Scripts\Activate.ps1 - On Windows (Command Prompt), run
.venv\Scripts\activate.bat - On Mac / Linux, run
source .venv/bin/activate
When (.venv) appears at the start of the prompt, the virtual environment is active.
With the virtual environment active, run the command below.
pip freeze > requirements.txt
When the command completes successfully, a file named requirements.txt will appear at the root of your project folder. Open it and you will see all libraries currently installed in your virtual environment, each listed with its version.
my_first_analysis/
├── .venv/
├── data/
│ └── sample_data.xlsx
├── notebooks/
│ └── analysis.ipynb
├── results/
│ ├── scatter.png
│ └── statistics.csv
└── requirements.txt # ← newly created
Whenever you install a new library as your analysis grows, you will need to update requirements.txt. Make a habit of running pip freeze > requirements.txt one more time at the very end.
Steps for a third party to reproduce your environment
To reproduce your analysis, a co-author or reviewer needs only the folder you hand over and the instructions inside it. Let's start by clarifying what to include.
Files and folders to share
my_first_analysis/
├── data/ # Raw data (shareable items only)
│ └── sample_data.xlsx
├── notebooks/
│ └── analysis.ipynb # Analysis script
├── results/ # Output figures/tables (include for reference)
├── requirements.txt # Created in Step 2
└── README.md # Instructions (created in Step 4 below)
The .venv/ folder is not included. The recipient will regenerate it on their own PC.
The virtual environment (.venv) is the project's dedicated "work room" from Part 1. You don't need to ship the room itself. If you hand over requirements.txt, the list of tools the room contains, the recipient can build the same room on their own PC. That is why .venv stays out of the package.
You can share the folder however you like. You can zip it and send it by email, share it through cloud storage, or publish it on GitHub or Zenodo as covered in Part 5.
Steps for the recipient
The person who receives your folder first checks the Python version written in README.md, then verifies whether that version is installed on their PC.
- Open README.md and check the Python version (e.g., "Tested on Python 3.12")
- Check whether that version is installed. Run
python --versionin a terminal (on Windows with multiple versions installed, trypy --list). If it is missing, download and install the required version from python.org/downloads. - Open the folder in VSCode and run the commands below in the terminal.
# Windows (using Python 3.12)
py -3.12 -m venv .venv
.venv\Scripts\Activate.ps1
pip install -r requirements.txt

# Mac / Linux (using Python 3.12)
python3.12 -m venv .venv
source .venv/bin/activate
pip install -r requirements.txt
The first line creates a virtual environment with the version specified in README.md. Without the version number, the command uses the PC's default Python, which may behave differently. The final pip install -r requirements.txt installs all libraries at the exact versions listed.
The recipient can now reproduce the exact environment you ran analysis.ipynb in. Running the code will produce the same figures and statistics. That is reproducibility.
Write setup instructions in README.md
Be sure to include a README.md file in your folder. It is the first thing a third party will read, so it should look something like the example below.
# Analysis Package for [Your Study Title]

## Setup

```
python -m venv .venv
source .venv/bin/activate    # Windows: .venv\Scripts\Activate.ps1
pip install -r requirements.txt
```

## Running the Analysis

Open `analysis.ipynb` in VSCode and run the cells from top to bottom.
Results will be saved to the `results/` folder.

## Python Version

Tested on Python 3.12.
You can create and save README.md as a plain text file in VSCode or any text editor.
Symbols such as # and ``` in the example above follow a formatting convention called Markdown. By adding just a few simple symbols to plain text, you can create headings, code blocks, lists, and other formatting. Services like GitHub, Zenodo, Notion, and Slack all support Markdown, and README.md files are automatically rendered on GitHub.
For a full reference, see the supplementary article "Markdown Quick Reference". At minimum, just knowing # (headings) and ``` (code blocks) is enough.
Caveats on the way to complete reproducibility
requirements.txt is powerful, but there are a few things to keep in mind.
-
The Python version itself is not recorded.
requirements.txtonly tracks libraries, not the Python version. Be sure to write "Tested on Python 3.12" (or whatever version you used) explicitly in README.md. - OS-specific libraries. A few libraries work only on Windows or only on Mac. If the analysis needs to run on multiple operating systems, testing on each one is ideal.
-
Very long output.
pip freezeexports every library in the environment, including the ones your libraries depend on, so the file can get long. If that bothers you, ask an LLM to help you trim it down to only the libraries you directlyimport.
That said, it is perfectly fine to start with the output of pip freeze as it is. Don't aim for perfection. For now, just make sure a requirements.txt exists.
Exclude .venv with .gitignore (optional)
When sharing your folder on GitHub, it is standard practice to exclude the .venv folder. It should be regenerated by the recipient, and it is also quite large. To exclude it, create a file named .gitignore at the root of your project folder with the contents below.
.venv/
__pycache__/
*.pyc
.ipynb_checkpoints/
With this file in place, these files and folders will be automatically excluded when you upload to GitHub. Part 5 covers this in more detail.
What you can now do
- Export your environment with
pip freeze > requirements.txt - Let others reproduce it with
pip install -r requirements.txt - Write setup instructions in README.md
- Exclude unnecessary files with .gitignore
In Part 5, the final part, we'll cover how to publish the folder you've built on Zenodo or GitHub. We'll also show how to add the link to your paper's Appendix, so that others can reproduce your research.