02 — Methods / Tutorial
Cleaning Up and Measuring
Plant 3D Data in MeshLab
An alternative route for when Meshmixer does not work
This page is for when Meshmixer does not work for you in Reconstructing and Preserving a Plant's 3D Form from a Smartphone Video. It covers the same work, with MeshLab in place of Meshmixer.
Autodesk has stopped distributing and developing Meshmixer, so on some computers it may fail to install, refuse to start, or stop partway through. MeshLab is open source, still maintained, and works the same way on Windows, Mac, and Linux.
Everything up to the LumaAI reconstruction (Steps 01 to 03 of the main article) is identical. If you have not done those yet, start with the main article. This page picks up once you have downloaded the OBJ file from LumaAI.
What you need (all free)
- The OBJ file exported from LumaAI in Step 03 of the main article. Unzip the download before you start.
- MeshLab for cleaning up and measuring the model. Download it from meshlab.net. Builds are available for Windows, macOS (including Apple Silicon), and Linux.
Each row shows what you do in Meshmixer, then how to do the same job in MeshLab.
- Edit → Transform→Filters → Transform: Rotate
- Type a real length into Set Target Length→Measure, work out a factor, then Transform: Scale
- Edit → Plane Cut→Select faces, delete, then Close Holes
- Analysis → Inspector→The Cleaning and Repairing filters
- Analysis → Units/Dimensions→Compute Geometric Measures
- Analysis → Stability→Compute Geometric Measures
- Edit → Separate→Move selected faces to another layer
Menu names here come from MeshLab 2025.07. Other versions may word things slightly differently or nest them elsewhere, so look for a similar name if you cannot find an exact match.
Import the OBJ into MeshLab and set its orientation
Open MeshLab and choose File → Import Mesh, then pick mesh.obj inside the folder you unzipped. MeshLab also reads mesh.mtl and the images in the textures folder beside it, so the model appears in color. Step 03 of the main article explains what each file does.
Drag with the left button to rotate. Roll the wheel to zoom. Hold the wheel down as a middle button and drag to pan.
On a laptop with only a trackpad, there is no middle button, which makes panning difficult. Plugging in a mouse with a wheel makes this work much easier.
The model sometimes comes in tilted. To straighten it, open Filters → Normals, Curvatures and Orientation → Transform: Rotate, choose an axis, enter an angle, and click Apply. To shift the model instead, use Transform: Translate, Center, set Origin in the same menu.
Because you type angles rather than drag the model, expect to try a few values. Check the Preview box in the filter window to see the result before you commit to it.
MeshLab measures correctly no matter how the model sits. If you only want surface area, volume, or per-part figures, you can leave the orientation as it is. Orientation matters only in Step 09. Reading height from the bounding box, the box that encloses the model, assumes the plant stands upright.
Set the scale (real-world size)
A 3D model carries no sense of real size on its own. MeshLab has no field where you simply type a true length, so instead you measure something of known length, work out a scaling factor, and resize the whole model.
- Click the ruler icon (Measuring Tool) in the toolbar
- Click the two ends of something whose real length you know. MeshLab shows the distance between them
- Work out the factor = real length ÷ measured length
- Open Filters → Normals, Curvatures and Orientation → Transform: Scale, Normalize
- Enter the factor for X, Y, and Z. Check the Uniform Scaling box and the X value applies to all three
- Click Apply, then measure the same spot again. If it now reads the real length, the scale is set
Say your pot is 12 cm across and the measuring tool reports 0.25.
The factor is 12 ÷ 0.25 = 48. Enter 48 in Transform: Scale.
This step decides your accuracy. Every volume and area figure depends on it. The unit you use here also becomes the unit of your results. If you measure in centimeters, you get area in cm² and volume in cm³. Filming a ruler, or a pot of known diameter, alongside the plant makes this much easier.
Isolate the plant
Next, remove the pot, the ground, and anything else you do not want measured. MeshLab cannot slice along a plane and seal the cut for you, so you select the unwanted faces, delete them, and close the opening afterward.
- Click Select Faces in a Rectangular Region (the rectangular selection icon) in the toolbar
- Drag a box over the pot or the ground. Selected faces turn red
- Press Delete to remove them, or use Filters → Selection → Delete Selected Faces
- Rotate the view and check the back for leftovers. Repeat until the plant stands alone
This leaves an open cut at the bottom. MeshLab cannot measure volume correctly while a hole remains, so be sure to seal it in Step 07.
Repair the model and close it up
To measure volume, the model has to be watertight, meaning a closed solid with no holes in its surface. Models built from video usually carry small gaps and stray fragments, so clean them up here.
1. Remove floating fragments
Open Filters → Cleaning and Repairing → Remove Isolated pieces (wrt Diameter). This deletes small pieces that are not connected to the main body. Raise Max Diameter gradually, stopping before the plant itself starts to disappear.
2. Tidy up duplicate points
In the same menu, run Remove Duplicate Vertices and Remove Unreferenced Vertices. Neither needs any settings.
3. Close the holes
Open Filters → Remeshing, Simplification and Reconstruction → Close Holes. Max size to be closed sets the largest hole MeshLab will fill. The cut from Step 06 is a big one, so raise this value well above the default before clicking Apply.
Any hole left behind will either block the volume calculation or produce a nonsense figure. If the numbers look wrong later, come back and raise Max size to be closed.
Save the cleaned-up model
Now that the model is scaled and trimmed to the plant alone, save it as its own file. When you export to OBJ from MeshLab, a single save creates several files at once.
(name).obj … the model itself (its shape), including your scaling, cuts, and repairs
(name).mtl … instructions for applying the texture images to the .obj
Texture images … pictures of the surface colors
Because the export writes several files at once, create a folder for them yourself first, and save into it. That keeps them from mixing with other files, and you will always know which files belong together. Give the folder an ASCII-only name (English letters and numbers) and put it somewhere like C:\lumaai\rice01 on Windows or ~/Documents/lumaai/rice01 on a Mac. Japanese or other non-ASCII characters in the folder name or anywhere in the path can stop the colors from loading when you reopen the file.
Then choose File → Export Mesh As..., pick OBJ, and save into that folder under an ASCII-only name. You keep the original download untouched and gain a second file in exactly the state you measured.
With the 3D data saved, you can measure something else later, or simply look at the plant again as it was. Putting the filming date and a plant ID in the filename makes the file easier to find later.
Keep all of the saved files together in that one folder. Just like the LumaAI files, the .mtl points to where the images are, so moving the .obj on its own gives you a colorless model. Patched areas from Step 07 have no color of their own, but this does not affect any measurement.
Check plant height
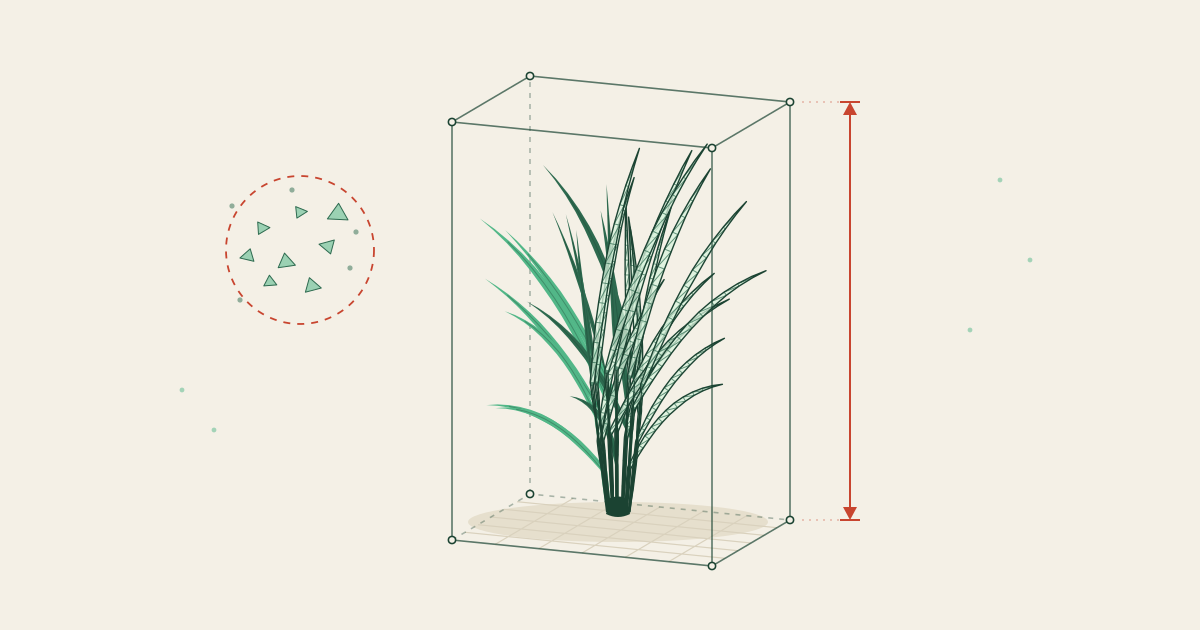
Run Filters → Quality Measure and Computations → Compute Geometric Measures. MeshLab reports the size of the bounding box that encloses the model, and the vertical figure gives you the height. Results appear in the log panel at the lower right.
The bounding box only gives a true height if the plant stands upright, and it can stay wider than expected even after you delete the pot. A more reliable way is to use the measuring tool from Step 05. Click the base of the plant and then its tip. This gives the correct length even when the plant leans.
Check volume and surface area
Run the same Compute Geometric Measures filter. The log panel lists Mesh Surface Area and Mesh Volume.
If you set the scale in centimeters back in Step 05, area comes out in cm² and volume in cm³. It is worth pausing to ask whether the numbers look plausible for the plant in front of you.
Volume is only meaningful on a watertight model. If no figure appears, or it is wildly too large or too small, either a hole remains or the scale is off. Go back to Close Holes in Step 07 and work forward again.
Split the model and measure parts separately
Sometimes you want to measure a single leaf or a stem rather than the whole plant. In MeshLab you move the faces you want onto their own layer, then measure that layer.
- Use Select Faces in a Rectangular Region to select the part you want
- Run Filters → Mesh Layer → Move selected faces to another layer
- A new layer appears in the layer list on the right. The eye icon hides and shows each one
- Click the layer you want, run Close Holes on it, then run Compute Geometric Measures
After a split, the cut stays open on both pieces. Run Close Holes on each layer before measuring volume. Surface area can be read straight away.
MeshLab asks you to choose each operation yourself. That means a few more clicks, but it also leaves a record of exactly what you did, which makes the same work easy to repeat on the next plant. Keep it in mind as a fallback for when Meshmixer does not work.