Python Vibe Coding Course — Supplement
Markdown Quick Reference
The minimum you need to write README.md
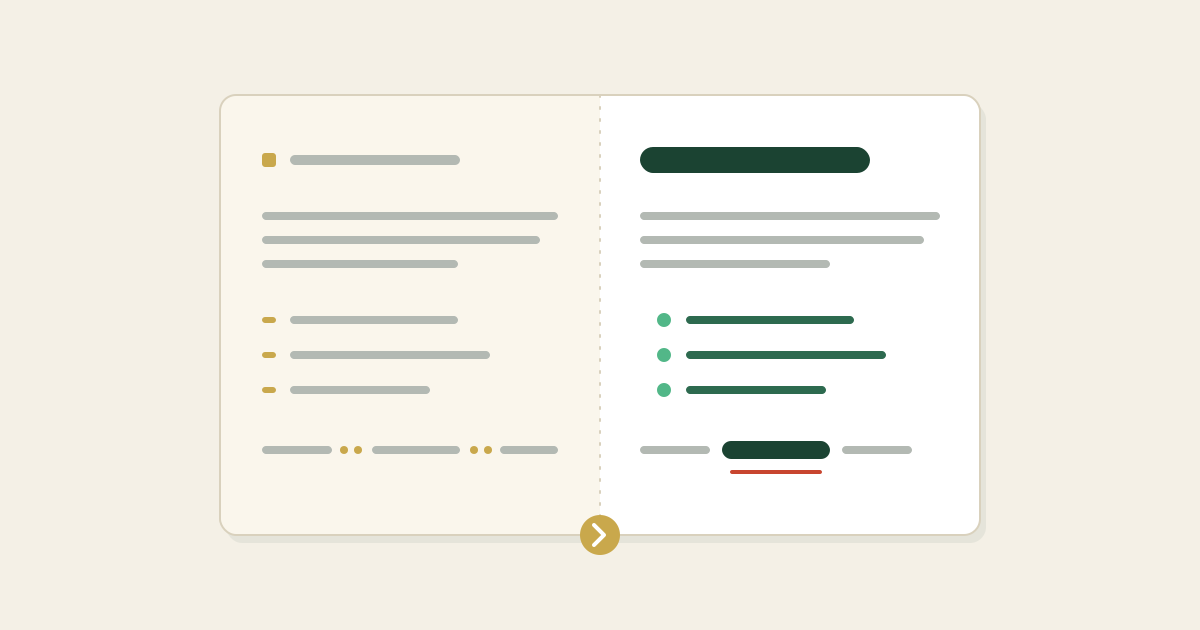
Markdown is a lightweight formatting convention that lets you express headings, lists, code, and more by adding a few simple symbols to plain text. It is used in README.md files, GitHub Issues and Pull Requests, Notion, Slack, and many other services. This page summarizes the minimum Markdown syntax you need to write the README.md covered in Part 4. You really only need to learn three things. They are headings, code blocks, and lists.
Headings (using #)
Placing # at the start of a line creates a heading. Fewer # signs mean a larger heading, and adding more (##, ###) creates progressively smaller subheadings.
Large heading (H1)
Medium heading (H2)
Small heading (H3)
Always include a space between # and the heading text. Write # Heading, not #Heading.
Code blocks (wrap with ```)
Surround code or commands with three backticks (```) before and after to display them in a fixed-width font inside a box.
```
python -m venv .venv
source .venv/bin/activate
pip install -r requirements.txt
```
Writing a language name (e.g., python, bash, html) right after the opening ``` enables syntax highlighting, which colors the code to match that language.
```python
import pandas as pd
df = pd.read_excel("data.xlsx")
print(df.describe())
```
For short inline code within a sentence, wrap it with a single backtick on each side. If you write `pip install pandas`, it appears as pip install pandas.
Lists (using - or 1.)
For bullet lists, start each line with - (hyphen) or * (asterisk). For numbered lists, use 1., 2., etc.
- Apples
- Oranges
- Bananas
- Load the data
- Aggregate
- Plot the figure
Emphasis and links (advanced)
The items below are handy to know once you're comfortable with the basics.
- For bold, write
**important**to get important - For italic, write
*emphasis*to get emphasis - For a link, write
[display text](URL)(e.g.,[GitHub](https://github.com)) - For an image, write

A complete README.md example
Here is the README.md from Part 4, written in Markdown.
# Analysis Package for [Your Study Title]

This repository contains all Python code needed to reproduce the figures
and tables in [Your Study Title].

## Setup

```
python -m venv .venv
source .venv/bin/activate    # Windows: .venv\Scripts\Activate.ps1
pip install -r requirements.txt
```

## Running the Analysis

Open `analysis.ipynb` in VSCode and run the cells from top to bottom.
Results will be saved to the `results/` folder.

## Python Version

Tested on Python 3.12.

## Contact

Please open an [Issue](https://github.com/yourname/repo/issues) for any questions.
When you upload this file to GitHub, it is automatically rendered on the repository's front page.
Even if you're not familiar with Markdown yet, you can ask ChatGPT or Claude to "write a README.md with the following content" and it will output the file in Markdown format. Reading the LLM's output as you go is a great way to learn the syntax naturally.
The minimum syntax to remember
#through###for headings```…```for code blocks-or1.for lists**bold**,*italic*, and[link](URL)for emphasis and links
In VSCode, open any .md file and press Ctrl + Shift + V (Cmd + Shift + V on Mac) to preview the rendered output while you write.